Have you ever thought about how solar panels are fixed onto a roof? Have you ever wondered if the fixings will stand the test of time, wind and rain?
We have. In fact, we’ve spent the last 16 years thinking about it.
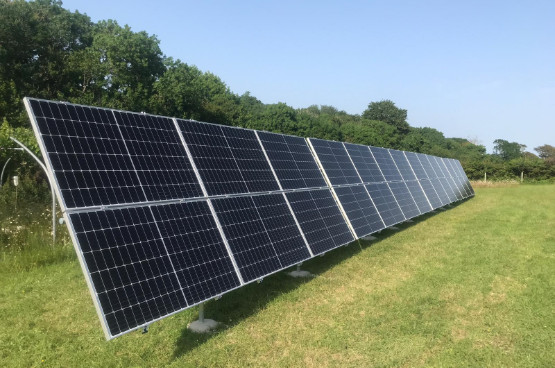
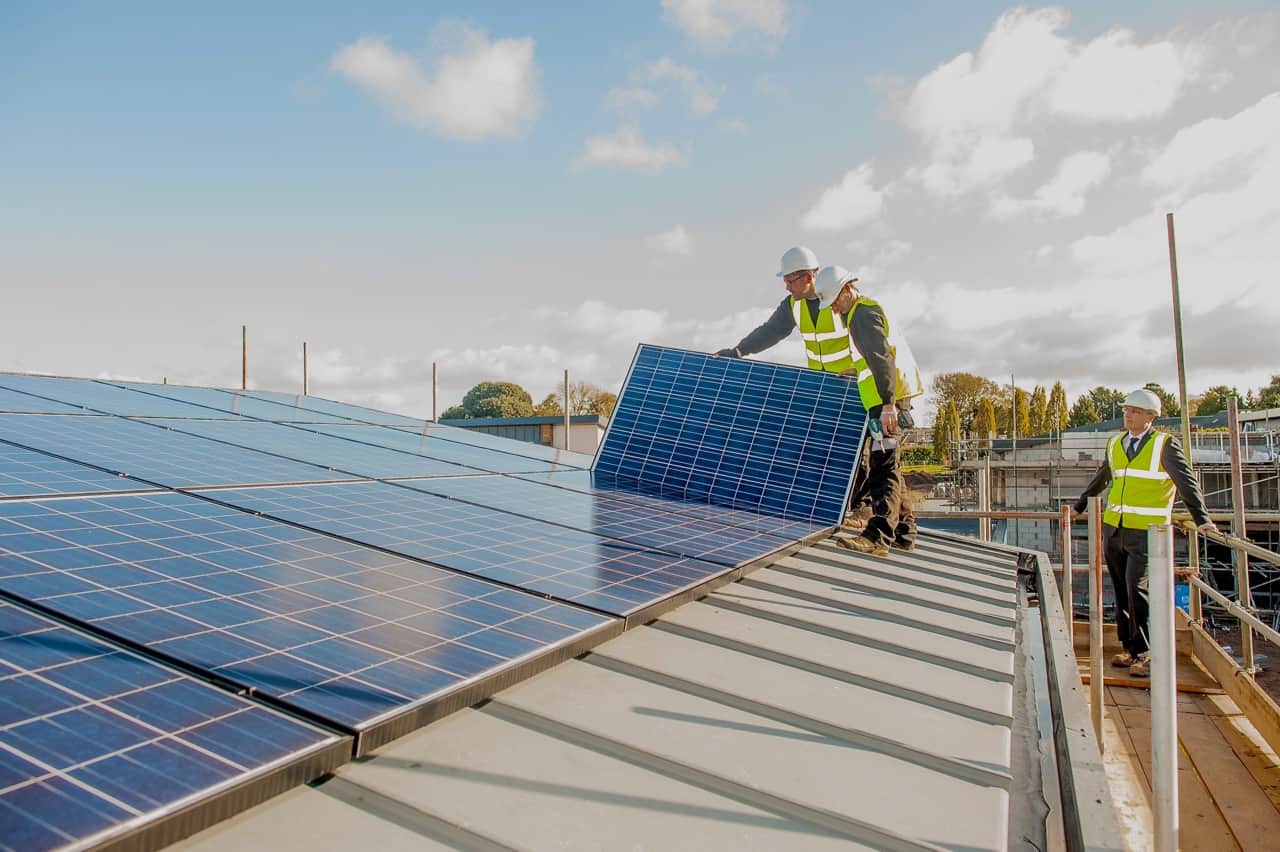
In those years we’ve installed solar panels on a vast range of roof types. From residential roofs to ground-mounted arrays and large-scale commercial installations – SunGift have seen it all.
We know what works and what doesn’t work. We know which fixing manufacturers prioritise quality over price, and which prioritise price over quality. We know, for every different type of roof out there, the absolute best method for fixing solar panels. We’ve thoroughly explored the solar panel fixings market and would like to share our findings with you.
In this article we’ll be going over how SunGift choose to fix solar panels to the main roof types found in the UK. These includes concrete tile, slate, flat roofs, standing seam roofs, trapezoidal sheet metal and corrugated fibre cement roofs.
Solar Panel Fixing – the Basics
No two solar panel arrays are the same. Some are very similar, but not exactly the same. There is always a difference. The most obvious differences are the ones you can see, like how the panels look or how they’re laid out. However, we’re talking about what’s going on under the panel here, which is where the more subtle differences are found. We’ll get to some of these differences later, but for now, let’s focus on what nearly all solar arrays have in common.
The fundamental principle of solar panel mounting applies to nearly all rooftop installations. There are three parts to it. Fixing point, rail and clamps.
Firstly, you need fixing points. These are often called ‘brackets’, ‘roof hooks’ or even simply ‘fixing points’. They are attached securely to your roof structure (usually bolted to the rafters) at regular intervals, creating a platform for the next part of the structure – the rails.
The rails normally run along the length of the roof (parallel to the gutter) and are bolted onto the brackets. With multiple brackets allowing several sections of rail, you now have a platform to mount the panels onto. But, you might ask, how do the panels fix to the rails? That is where the clamps come in.
Once a panel is held securely in place by one of our installers, clamps are used to fix the panel to the rail. You have two types of clamp: mid-clamps and end-clamps. End-clamps are used at the end of the rail, for the panels on the outside of the array. Mid-clamps are used in the middle of the array, where two panels meet.
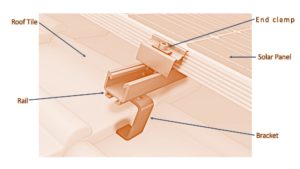
Diagram: how we fix solar panels to your roof
And that’s it! Well not quite. Whilst the fundamental principles are fairly consistent from roof to roof, there is an extremely big variety of roofs out there, so SunGift have to approach each roof individually.
For this reason, before we install a system, we always produce a bespoke mounting design for the roof.
A bespoke design for every roof
As mentioned above, due to the range of different roof types and constructions, it is vital that our installers are prepared before they arrive on site.
To prepare them, SunGift’s project managers will produce a unique, specialist report for the roof in question. Vital information must be gathered at the survey to make this design possible. For example, one of the most important pieces of information is the dimensions and spacing of the rafters. This will determine where we install the brackets and also what size bolts to use. SunGift always use stainless steel bolts and will come prepared with the correct size for your rafters.
We use a manufacturer called K2 Systems for a significant proportion of our mounting equipment. K2, a German company, have an online tool that allows us to build a 3D model of your roof and generate a custom mounting design using their equipment. The software also takes into account wind loading based on your location, orientation and building dimensions. This means we can distribute the brackets across the roof in an optimal layout to resist wind uplift on the panels. Often, wind uplift forces will be strongest on the edges of the solar array, so we will design a mounting system with more brackets in these locations.
The software also takes into account thermal expansion. This is specific to large arrays, in which the mounting equipment might expand significantly in hot conditions, making it important that we design for the correct number and spacing of thermal expansion gaps.
From the survey, to the final stages of the design, SunGift are thinking about the solar panel mounting system that is right for you. We make sure that we obtain the required information and translate this into a mounting system that works for your exact roof.